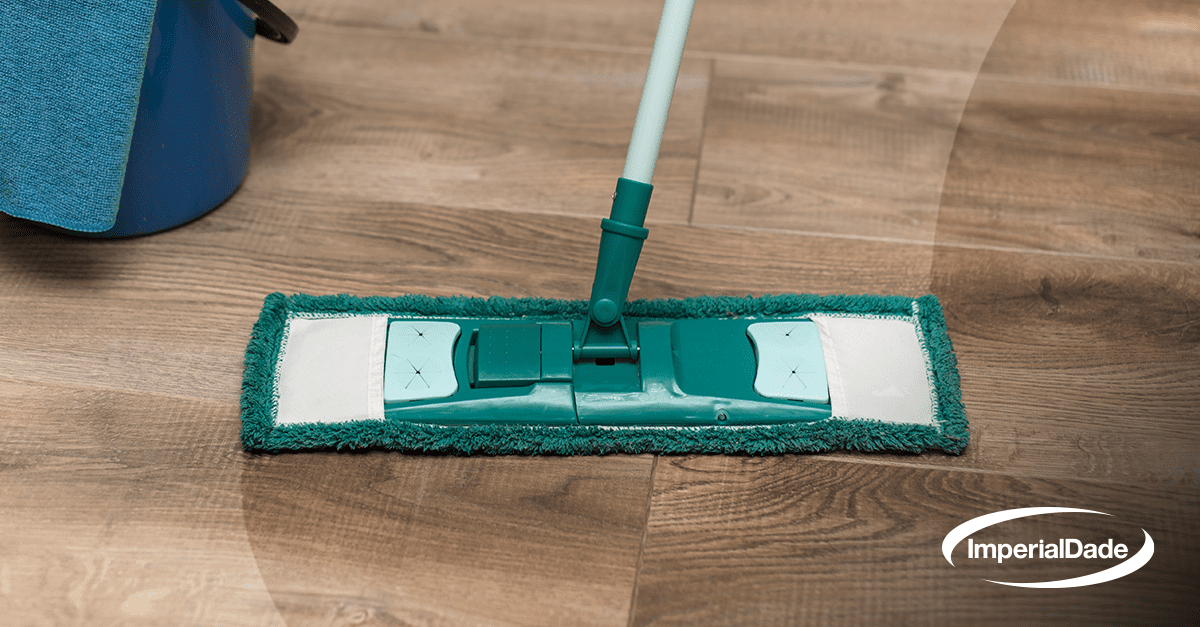
Does your LVT flooring have dark stains, deep scratches, or thick scuff marks that just won’t go away with cleaning? That’s how you know it’s time to restore your flooring.
Luxury vinyl tile, or LVT, is a popular choice for commercial settings that is known for its high durability, ability to realistically mimic natural materials, and ease of maintenance. But LVT flooring, just like any other flooring, will need to be restored to bring back its original brilliance.
Even with regular or consistent daily and periodic cleaning, restorative procedures are needed to extend the life of your LVT flooring.
In this article and video, we’ll review each step you need to restore your LVT flooring.
How to Restore LVT Flooring
Typically, you should only need to perform restorative cleaning procedures 3 or 4 times a year.
Restorative maintenance is necessary when the flooring is visibly damaged or dull and your daily and periodic cleaning efforts aren’t producing results.
It’s also a useful way to protect your floors from becoming visibly damaged or dull.
To perform this restorative cleaning procedure, you’ll need:
- Equipment
- Mopping System
- Auto Scrubber
- Water Bucket
- Wet Vac
- Materials
- Supplies
Once you have all of the necessary items prepared, follow these steps:
- Step 1: Put on Personal Protective Equipment (PPE) and Position Wet Floor Sign(s)
- Step 2: Remove Loose Dirt and Soil with a Dust Mop
- Step 3: Dilute the Floor Cleaner
- Step 4: Apply the Solution to Your LVT Flooring with a Damp Mop
- Step 5: Deep Scrub Using an Auto Scrubber Equipped with a Red Pad
- Step 6: Remove Slurry Using a Wet Vac or Auto Scrubber
- Step 7: Dilute the Restorer
- Step 8: Apply the Restorer onto the Floor with a Damp Mop
- Step 9: Allow the Solution to Dry
Step 1: Put on Personal Protective Equipment (PPE) and Position Wet Floor Sign(s)
It’s important to make sure you’re wearing the proper protective equipment while performing a floorcare procedure that uses cleaning chemicals.
Check the manufacturer’s recommendations for what PPE they suggest you use with their cleaning product if you’re not sure of what to wear.
For LVT Deep Scrub and LVT Restore, the use of protective gloves and goggles is recommended. It’s also a good safety precaution whenever cleaning or working on flooring to put out one or more wet floor signs.
Step 2: Remove Loose Dirt and Soil with a Dust Mop
Using a dust mop, sweep away any dirt and soil build-up on the floor.
Step 3: Dilute the Floor Cleaner
To prepare your floor cleaner, pour the chemical into a bucket and dilute with water.
The correct ratio of cleaner to water is different for every product, so make sure that you refer to the manufacturer’s instructions before mixing the solution.
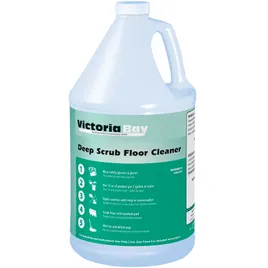
We recommend using the Victoria Bay LVT Deep Clean. For this cleaner, Victoria Bay says to use 2-8oz of product per gallon of water.
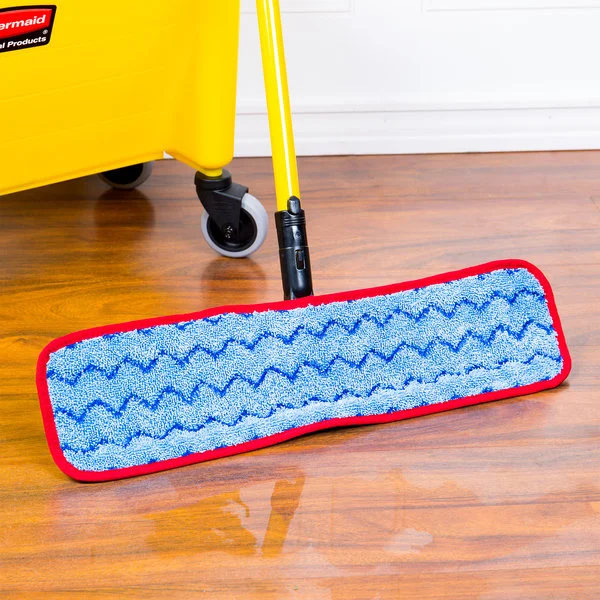
Step 4: Apply the Solution to Your LVT Flooring with a Damp Mop
Once the chemical solution has been mixed, you need to apply to it the LVT flooring.
Apply your solution directly to the floor and, using a damp mop, spread it evenly across the area you’re preparing to restore.
Be careful to avoid flooding the floor as it can lead to several problems, such as mold growth or tile peaking.
If the solution is pooling on the floor, you’ll know that there’s too much.
Step 5: Deep Scrub Using an Auto Scrubber Equipped with a Red Pad
To get the best results, equip your autoscrubber with a red pad. An auto scrubber is ideal for this step because it will agitate the solution while working it into the floor at the same time.
The red pad is best in this situation because any other pad might be too stiff or too abrasive. If too stiff, it won’t be able to get between all the grooves on LVT. If too abrasive, it can cause permanent damage to the LVT’s wear layer.

Once the red pad is on the machine, use the auto scrubber to work the cleaning solution into the LVT flooring.
If you don’t have an auto scrubber, then you’ll have to use a low-speed floor machine equipped with a red pad to agitate and work the solution into the floor.
Step 6: Remove Slurry Using a Wet Vac or Auto Scrubber
Now that the solution has been worked into the floor, it’s time to clean it back up.
If you used an auto scrubber for the last step, continue using it to remove the slurry. If not, use a wet vac to remove slurry from the LVT flooring.
Step 7: Dilute the Restorer
To dilute the restorer, pour the chemical into a bucket with water.
The right ratio of water to chemical varies depending on the brand and product, which is why it’s important to check the manufacturer’s recommended dilution ratio for the specific product you’re using.
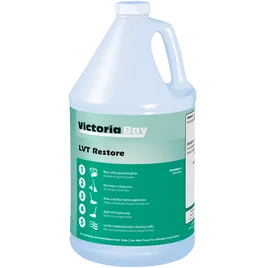
We recommend using Victoria Bay’s LVT Restore. Victory Bay doesn’t require this particular product to be diluted. If your product doesn’t need to be diluted, you can skip to the next step.
Step 8: Apply the Restorer to the Floor with a Damp Mop
Now that the cleaning slurry has been removed and the restorer is ready, it’s time to apply it to the floor.
Using a damp mop, spread the restorer evenly across workable sections of the flooring.
Step 9: Allow the Solution to Dry
Now that the solution has been applied to the LVT flooring, allow it to dry before reopening the area to traffic.
Dry time can differ depending on the product, so make sure to check the label of your cleaner for its recommendation. Allowing the cleaning solution to air dry gives it more time to tackle dirt, soil, and other debris.
Once the floor is dry, it’s ready to be opened to the public again.
Final Thoughts
Restorative maintenance is important for bringing life back into your floors after they’ve received heavy wear and tear.
Sometimes a restoration is all your floors need to regain its original brilliance. Flooring is an incredibly important part of your facility’s appearance. Often times, the floors are the first thing a customer notices when they walk in the building.
In that context, having fresh looking floors can have a huge impact on how your business is perceived.
If you’re still unsure about how to restore LVT flooring or have any questions about your facility’s LVT floors, reach out to an Imperial Dade Facility near you.
One of our floorcare specialists will evaluate your floors or floorcare program and work with you to find room for improvement. Call today to set up a free onsite or virtual consultation!
Related Articles:
- How to Clean LVT (Luxury Vinyl Flooring): 5 Key Steps for Daily Maintenance
- What is LVT (Luxury Vinyl Tile) Flooring? Everything You Need to Know
- 4 Easy Ways to Remove Scuff Marks From Commercial Floors [VIDEO]
- How To Use An Auto Scrubber To Clean Your Commercial Hard Floors
- What is the Best Floor Pad for your Buffer or Burnisher? [VIDEO]
- Ultimate Guide To Achieving Great-Looking Commercial Hard Floors
- Best Hard Floor Maintenance Schedule: Keys to a Great-Looking Floor [VIDEO]