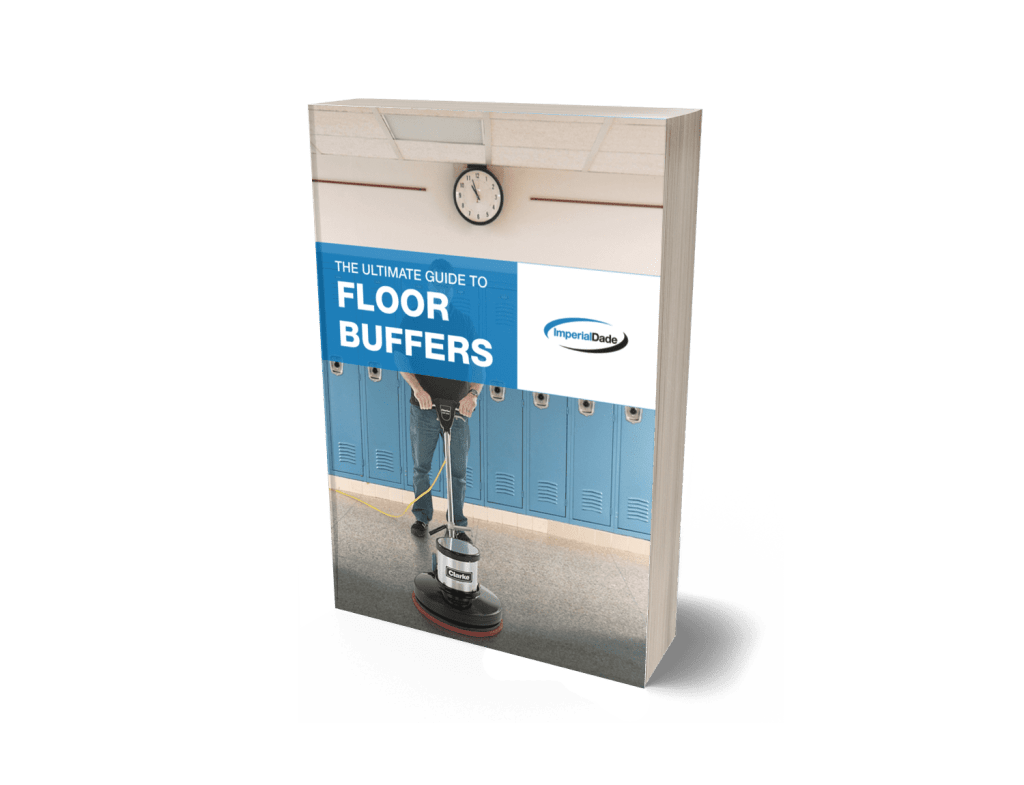
Two common, yet often confused, floor machines are commercial floor buffers and burnishers. Although similar in appearance, floor buffers and burnishers are used to complete different cleaning procedures and are operated in two different ways.
The key to running each machine is to understand the difference in operation, and how to properly maneuver the machine.
Commercial floor buffers move side to side because of the weight distribution of the machine. When the handlebar on a floor buffer is moved up or down, it will cause a shift in the machine’s weight, and in turn, the buffer will move from side to side.
Floor buffers are more difficult to operate than burnishers. Commercial floor burnishers do not require the operator to balance the weight to control the movement of the machine. Floor burnishers move forward or backward in a straight line like a lawn mower.
In this article and video, we’ll go over how to effectively operate each machine.
How to Run A Floor Burnisher
Everything you need to know about commercial floor burnishers including types, sizes, specs, & more!

Burnishers rest on the wheels of the machine, so the weight of the machine head does not control the direction of the machine.
As a result, floor burnishers do not move side-to-side but in a straight line, even when operating.
Step 1: Select a Floor Pad
The first step to operating a floor burnisher is ensuring that the right floor pad is being used for the floor machine and floor type.
Related: What is the Best Floor Pad for your Buffer or Burnisher? [VIDEO]
Floor burnishers are used primarily to shine floors. The best pad will be based on the hardness of the floor finish in your building.
Pro Tip: If you are dealing with a softer floor finish, use harder floor pads. If you have a harder floor finish, softer floor pads will produce a better shine.
Step 2: Install Floor Pad
The key to great results starts with the proper installation of the floor pad to the machine. The floor pad must be centered on the machine to ensure even, consistent results.
Use these steps to install the floor pad onto your floor burnisher:
Step 1: Unplug (Cord-Electric) or Turn Off (Battery-Operated)
Step 2: Tilt the Machine Back to Rest on the Burnisher’s Back Wheels
Step 3: Center the Pad on the Pad Driver
Step 4: Attach the Pad Retainer
Pro Tip: The pad should always be applied to the pad driver before inserting the pad retainer. If you insert the pad retainer into the pad before applying it to the pad driver, you will have difficulty centering the pad on the pad driver.
Step 3: Position Handlebar
After the pad is properly installed on your floor burnisher, tilt the machine upright, and unlock the handlebar.
Once released, the operator will stand behind the machine and grasp the handlebar with two hands letting the handle rest around hip level.
If you are using a dust control machine, do not lock the machine handlebar into place.
The pad on dust control machines rests on the floor, creating 100% contact. The pad will naturally follow floor contours, and will not require the operator to manage the weight of the machine with the handlebar.
On other, non-dust control burnishers, the handlebar must be locked into place. The pad on these machines does not rest evenly on the floor and will require the operator to manage the weight of the machine to make sure the pad has even contact with the floor.
If the handlebar is not locked, the front of the pad will be weighed down and can burn or damage uneven high spots on the floor.
Step 4: Operate Floor Burnisher
Once the floor pad has been installed and the handlebar is properly set based on machine type, the floor burnisher is ready to be used.
To start the machine, tilt the pad off the floor, release the safety button, pull the trigger so the pad is rotating and move the machine forward as the pad is lowered down to the floor. This avoids floor damage on initial start up.
Floor burnishers should be moved forward and backward in straight cleaning passes for optimal results.
Everything you need to know about commercial floor burnishers including types, sizes, specs, & more!

How to Run A Floor Buffer
Unlike floor burnishers, floor buffers move side-to-side and must be carefully maneuvered to maintain a consistent cleaning path.
It is important to keep a floor buffer moving forward in even strokes to avoid uneven polishing or cleaning. Additionally, depending on the floor pad that is applied to the buffer, leaving the machine in one place for too long can cause damage to the floor finish.
The cleaning path of a floor buffer is controlled by the weight distribution of the machine because the wheels are not on the ground during use.
The wheels on a floor buffer are used solely for transport and do not guide the machine like they do on a floor burnisher. Because the wheels do not touch the ground, the user must guide the floor buffer by managing how the machine weight rests on the pad driver.
If the weight is evenly balanced over the head of the machine, the floor buffer will stay in the same position.
It is difficult to maintain a straight cleaning path with a floor buffer because even with slight shifts to the handlebar, the weight of the machine will become unbalanced. If the weight is tipped to the front or the back, it will move either left or right.
To move forward or backward with the machine, the weight will need to be distributed to the left or right of the pad driver.
The operator controls how the weight is distributed by using the handlebar.
Pro Tip: To safely move the buffer, use micro-movements or very small movements. If you raise the handle ¼ in. you will more safely and easily maneuver the machine than if you used large 6 in. movements.
Steps to Operate a Floor Buffer
Step 1: Select a Floor Pad
Similar to a floor burnisher, you must select the best floor pad for the cleaning procedure before operating.
Floor pads for buffers are identified across most manufacturers by a standardized color scheme based on the function of the pad. Typically, the darker the pad, the more aggressive.
Buffers should be used to clean, buff, scrub, or strip your floor. Choose the least aggressive pad to attain desired results without risking floor damage.
Step 2: Install the Floor Pad
To properly install a floor pad, there are four steps to ensure the floor pad is centered for optimal results.
Step 1: Unplug the Machine
Step 2: Lock the Machine Handle in Place
Step 3: Tilt the Machine Back
Step 4: Center Pad on Pad Driver and Install
If the pad is not centered on the pad driver, it will cause the machine to wobble more than normal.
When the machine produces increased vibrations, the operator will have a harder time controlling the machine, forcing them to exert more energy. Increased fatigue will lead to decreased productivity.
A wobbly machine can also negatively affect the results of a floor care procedure.
Pro Tip: The pad driver should be removed after every cleaning procedure to avoid pad driver damage. The weight of the machine can warp the pad driver if left on the machine when not in use. The uneven weight of the machine will also cause the floor pad to become compressed and uneven in certain areas, making it difficult to achieve consistent results.
Additionally, when the pad is not centered, it will increase the noise level of the machine which can be disturbing to occupants.
Step 3: Lock Handlebar Into Desired Height Position
The main difference in operating a floor buffer and burnisher takes place in steps 3 and 4.
People often confuse floor burnishers with buffers and operate them the same way.
However, to control the direction of a floor buffer, the operator will use the handlebar.
When operating a floor buffer, you will unlock the handlebar to adjust it to the appropriate height level and then LOCK it back into place.
Unlike floor burnishers with dust control, where the handlebar is loose and allows the machine to follow the contour of the floor, the handlebar on a buffer must be locked at the operator’s desired height setting.
The handlebar should be locked where the user’s leg bends at the hip, just below the waist. If the handle is higher or lower than the optimal point, it will be extremely difficult to control the machine.
Step 4: Use Handlebar to Control Side-to-Side Motion
This is the most important step in the successful operation of a floor buffer. The user must effectively control the machine to ensure desired cleaning results are met.
After locking the handle into place, the handle can be slightly raised (¼ in.) or lowered to direct the machine from right to left. Or, the weight can be used to direct the machine forward or backward when distributed to the left or right.
When the handle is tipped down slightly, the machine’s weight will be on the back of the machine. When the machine’s weight is on the back the buffer will move to the left.
Conversely, if the handle is slightly raised, the weight of the machine will be on the front of the machine. Moving the weight to the front of the machine will cause the floor buffer to move to the right.
Final Thoughts
The difference in operating a floor buffer and burnisher is clear.
With a floor burnisher, the machine will be operated in a straight path either in forward or reverse.
Remember, do not lock the handlebar on a dust control floor burnisher. Dust control burnishers evenly distribute weight on the pad so that the pad makes 100% contact with the floor. This allows the machine to naturally follow floor contours. On non-dust control burnishers, only the leading edge of the pad hits the floor so you must lock the handle to better allow the machine to follow the contours of the floor.
To operate a floor buffer, the user must move the handle up and down to control the weight and direction of the floor buffer. It is also important to remind your staff that before operating the buffer, the handlebar must always be locked into position.
The successful operation of each machine will help your staff achieve best-in-class floor care results.
If you’re located in the United States, Puerto Rico, or the Caribbean, Imperial Dade locations can help you assess the needs of your facility and figure out the best floor maintenance machine for you.
Contact an Imperial Dade Specialist today to schedule an evaluation of your facility’s floor care needs.
To learn more about floor buffers or burnishers, check out some of our additional resources below:
![How to Use a Floor Buffer VS How to Use a Floor Burnisher [VIDEO]](https://imperialdade.blog/wp-content/uploads/2022/06/Ultra-Speed-1500-In-use-school-Rt-1024x687.jpg)
