Every 12 months or so your resilient hard floors will need to be restored with a strip and wax to revitalize your dull, worn flooring.
This is a two-part process. The first step is to strip or remove all layers of finish from your floor. Then, once you’ve stripped all the wax (finish) from your commercial hard floors, the next step is to refinish.
Refinishing can be a daunting task especially if you have little experience. You’ve likely heard of some things that can go wrong when applying floor finish from low initial gloss to leveling and streaking.
To help you avoid these and other challenges of applying floor finish, we put together the key steps for a successful refinish below.
Read more: How to Apply Floor Finish to Resilient Hard Floors in 9 Easy StepsHow Do You Apply Floor Finish
Preparing to Apply Floor Finish
It is important to begin any cleaning or maintenance procedure with the proper tools, commercial cleaning supplies, janitorial cleaning equipment, and personal protective equipment (PPE).
Required Tools, Materials, & Equipment:
- Mop Bucket and Wringer
- Inexpensive Disposable Mop
- Properly Diluted Stripper
- Rayon or Microfiber Mop
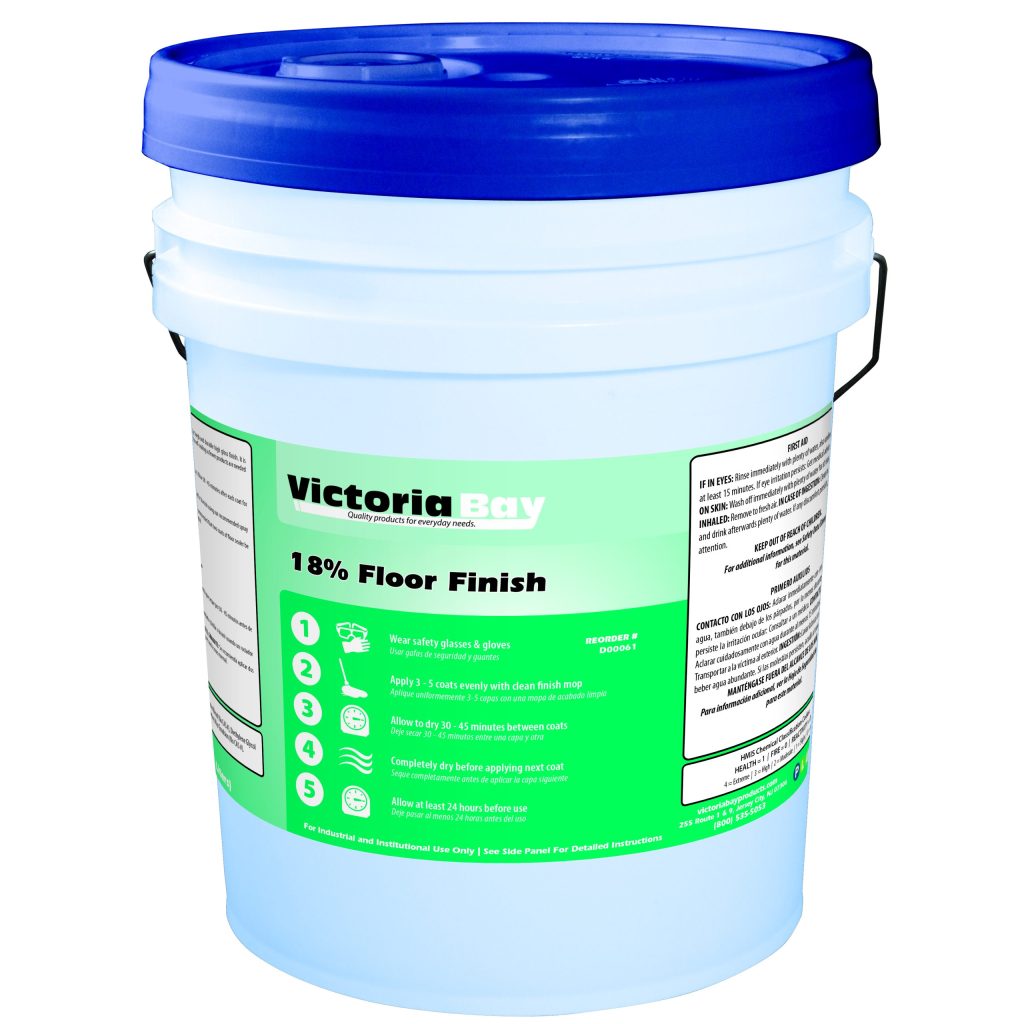
- Finish
- Can Liner
- Wet Floor Signs
- Fan
- Gloves
Always begin any cleaning procedure by putting on the necessary personal protective equipment.
Place wet floor signs outside of the area to signal to guests that there is cleaning in progress and could be hazardous if they enter the area.
Step 1: Strip All Wax (Finish) From Your Floors
First, strip the area to be finished.
For a full guide on how to properly strip the wax from your commercial hard floors, read our other article: How to Strip Commercial Hard Floors
Step 2: Select the Right Floor Finish

Choose a floor finish that is compatible with your floors, and that will help you achieve your desired goals such as optimal glossiness or reduced maintenance.
Related: How to Choose the Best Floor Finish For Your Facility: Types & Considerations
Step 3: Line Mop Bucket With a Can Liner
Prevent any unwanted debris from entering your floor finish by placing a can liner (or trash bag) inside your mop bucket. This will mitigate the risk of any leftover soils getting into your newly applied finish.
Lining your mop bucket will also help reduce clean-up time.
Step 4: Prepare Your Mop
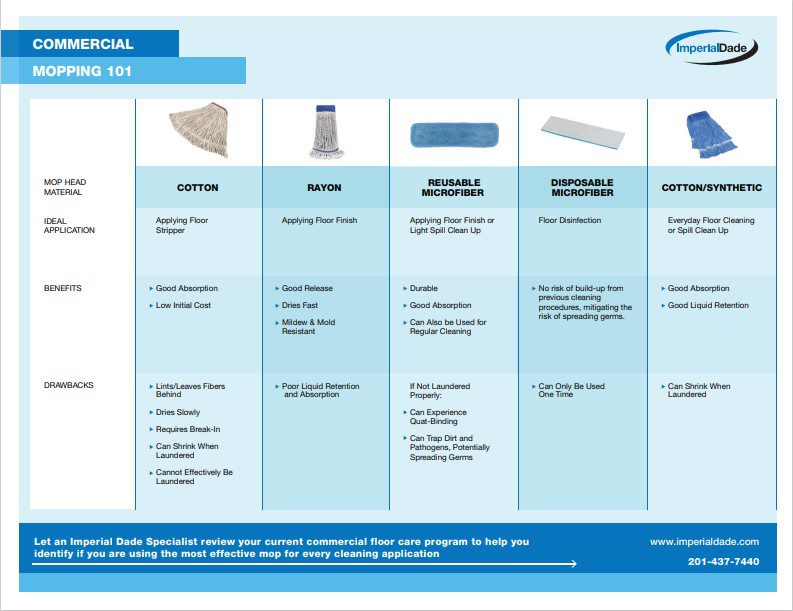
We recommend using a microfiber flat mop or rayon (finish mop) to apply floor finish. These mop types will help you and your staff evenly apply floor finish so you can work more efficiently.

Pro Tip: Cotton mops are difficult to work with and we do not recommend trying to apply floor finish with them. They can lint, leaving behind fibers in your finish.
Dip your mop into the lined bucket containing the floor finish. The mop should be saturated but not dripping. Remove any excess finish before beginning.
We DO NOT recommend wringing out the mop to get rid of drips, this can potentially create air pockets in the finish that will not allow the finish to dry properly on the floor, creating “fish eyes”.
Rather than wringing the mop, simply tamp out the mop until there is no finish dripping off the mop.
Step 5: Apply A Thin Coat of Finish
Use a figure 8 motion to apply thin, even layers. It is important to use the figure 8 motion as it will allow each pass to slightly overlap so that no areas are missed and you do not cause the finish to become uneven.
If you are using a rayon mop, remember to flip the mop over (use both sides of the mop) before reaching for more finish.
If the first layer is too thick, the finish will not adhere or cure properly, and the rest of the coats will not dry properly. Should this happen, you will need to start the strip and refinish process over.
Pro Tip: We recommend starting at the entranceway and working along the baseboards first and then progressing to the inner area of a room. This is the most efficient way to apply finish without doubling up and walking over an area where floor finish has already been applied.
Step 6: Allow the Layer of Finish to Dry
It is imperative to let the first coat and any subsequent coats of finish to fully dry before applying new coats. Failing to let the finish fully dry can cause streaks and/or bumps in the next coat.
The typical recommended dry time is a minimum of 30-45 minutes before applying your next coat of finish.
Step 7: Perform a Touch Test
Before proceeding to the next coat, do a touch test to determine if the finish has truly dried.
Touch the finish to see if it feels tacky. If yes, do not apply the next layer.
Once the finish is dry to the touch (and not tacky), you can prepare to apply the next layer of finish.
Step 8: Apply Additional Coats
Depending on the finish type, there are guidelines for how many coats should be applied to the floor for best results. In general, it is anywhere from 3-7 coats.
The more coats you put down, the more protection you’ll provide to your floors. With additional coats, you can help reduce the frequency you’ll need to strip and wax your hard floors, lowering labor and other costs.
Remember, it is never recommended to apply more than 4 coats of finish in a 24 hour period. If you have not achieved the desired level of shine or protection with 4 coats, then wait 24 hours before applying additional coats.
You can use an air mover to help expedite dry times, but do not point the fan directly at the finish. This can cause the finish to swirl or bubble.
When applying additional coats, follow steps 5-7 until you meet the manufacturer’s guidelines or achieve the desired look.
Step 9: Let Finish Cure
Once you have applied all layers of finish, let the finish fully cure before opening the area back up to foot traffic.
While it is always a good idea to allow as much time as possible for all the coats to cure, we know that can be hard. In general, waiting for at least 8 hours is enough time before opening the area to foot traffic.
Pro Tip: Do not burnish the finish in the first 48 hours of application. Burnishing the finish too early can cause the finish to lift and peel. If this happens, you’ll be forced to start over again.
Final Thoughts
By following these steps, you and your staff can apply floor finish with little to no stress.
For more help or additional instruction, we offer a hard floor care training course that will update you and your front line staff on the latest processes and products to efficiently and effectively perform a strip and wax.
For more help or additional instruction, Imperial Dade offers a hard floor care training course that will update you and your front line staff on the latest processes and products to efficiently and effectively perform a strip and wax.
Learn More About Imperial Dade Cleaning Institute’s Hard Floor Training Course
Imperial Dade locations also have a wide range of commercial floor maintenance products, including floor finish.
To learn more about how to build an effective floor care program specific to your facility’s needs, or to better understand the steps necessary to implement these procedures so you can keep your floors looking their best, contact a specialist today.
If you are located in the United States, Puerto Rico, or the Caribbean, we can perform a free comprehensive review of your floor care program to help identify and fill any cleaning and maintenance gaps.
Check Out These Related Articles:
- How to Strip and Wax Floors: 5 Common Mistakes to Avoid [VIDEO]
- How to Choose the Best Floor Finish For Your Facility: Types & Considerations
- How Much Does it Cost to Strip and Wax Floors: 5 Factors
- What is the Best Floor Pad for your Buffer or Burnisher? [VIDEO]
- What is the Difference Between Floor Buffers and Burnishers? [VIDEO]
- 5 Common Mistakes to Avoid When Stripping a Commercial Floor [VIDEO]
- How to Strip a Floor Without Chemicals: 5 Major Benefits
- High Solids Floor Finish: 3 Common Myths That Could Make You Choose the Wrong Floor Finish
- 4 Daily Procedures to Maintain Your Facility’s Resilient Hard Floors
- Chemical Safety Tips For Reducing Insurance Costs & Workers’ Comp Claims
